
Build your own quadcopter
Build report of the WiFree copter
Thanks to my favorite magazine Make, I recently came across the wonderful website Open-DIY-projects. They have a great example of a simple and cheap qudcopter build project.
Its features include:
- based mostly on open source software
- mobile phone app as remote control
- life camera streaming to mobile phone app, even while recording to SD-card
So I though it would be a great and simple project for me.
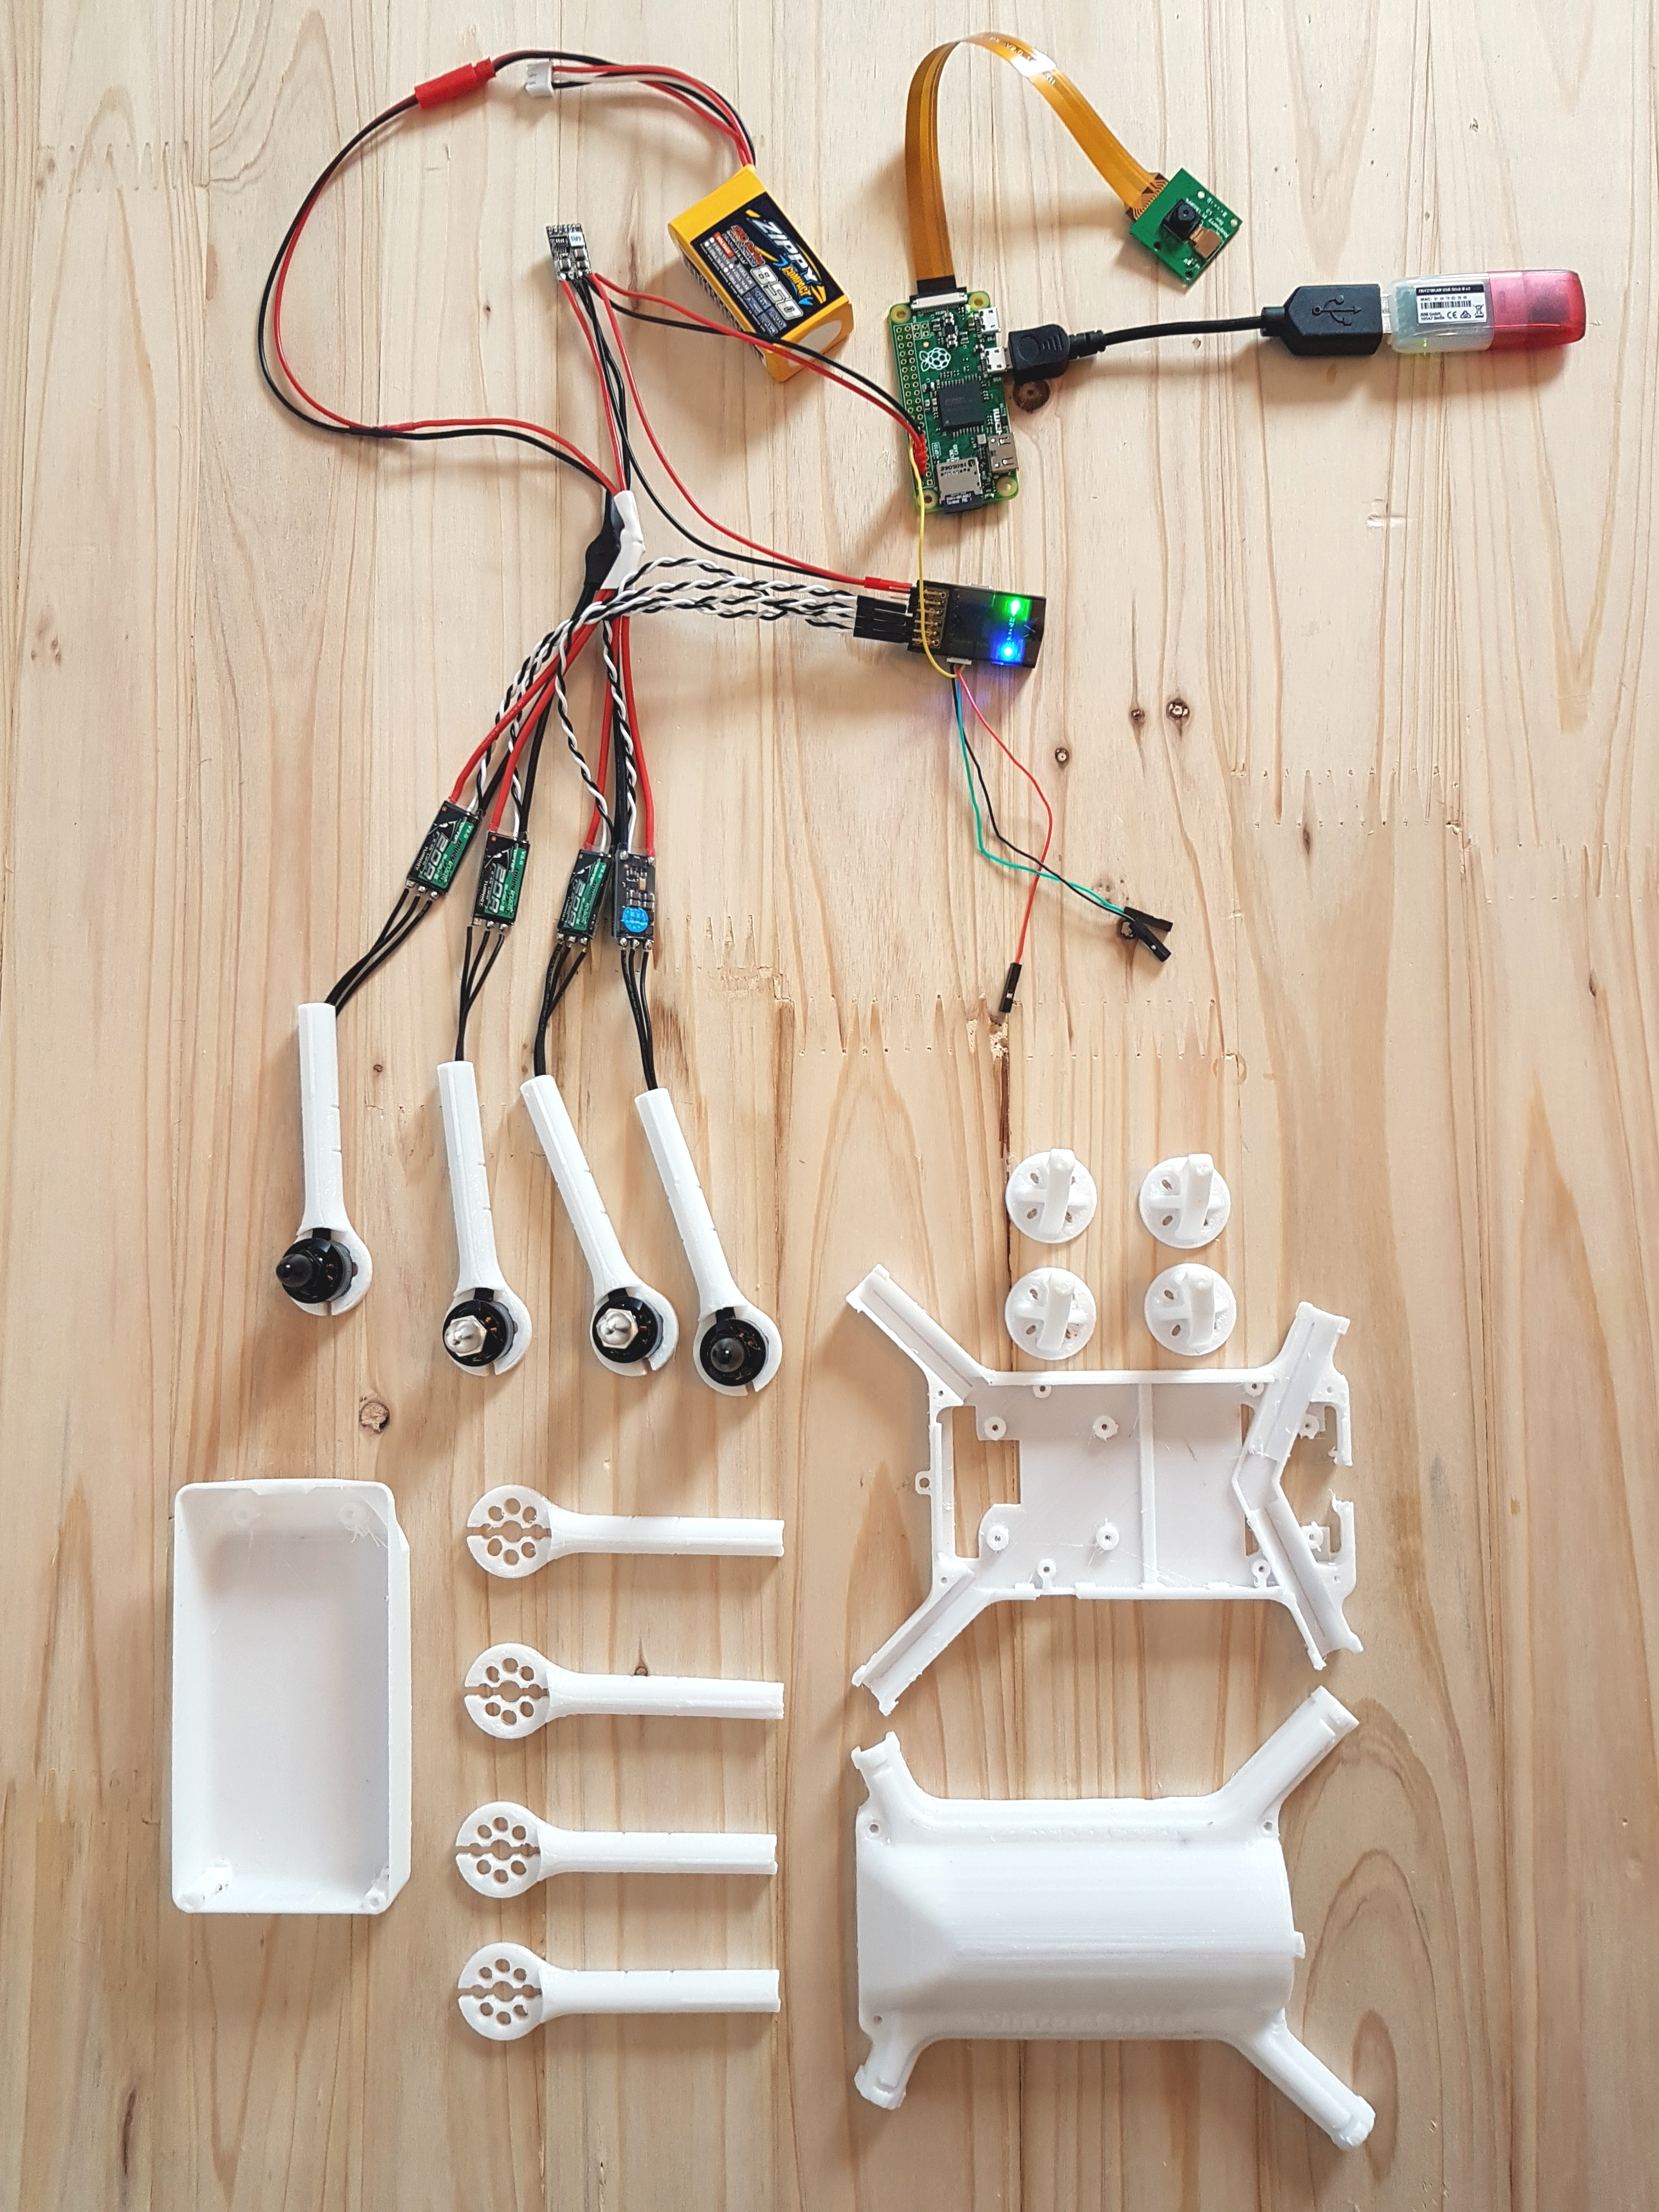
Ordering the parts
I bought the motors, props and the flight controller, as well as the batteries at hobbyking.com. They had them available in the european warehouse, which safes time and costum fees. Unfortunately they didn’t have to recommended CC3D flight controller, so I bought the CC3D Atom, which seemed similar enough to me.
The raspberry pi zero and the camera cable came from pimoroni. The camera itself I had laying around in my workshop from other projects.
Putting everything together
Soldering the parts was not a big deal, but verifieing that each part works as exspected was a little tricky.
Raspberry Pi zero
Getting the pi the work was a little tricky. None of the wifi dongles I had laying around seemed to work and since I had no active USB hub, I could not connect a keyboard and a dongle at the same time. That made debugging a little annoying. It turned out that one dongle would have required to compile an addition kernel module driver and the other one did not support AP-mode. Because I was to lazy to try compiling the driver myself, I bought a differenct dongle. At the local electronics shop they kindly let me try the only dongle they had before buying it, so I could be sure it would work.
CC3D Atom
The WiFree project suggests using an old version of INAV for the CC3D. Mine came preprogrammed with an old version of openpilot.
The openpilot website is not available anymore, but its successor librepilot was able to talk to the old firmware and even make an automatic firmware upgrade. Unfortunately I was not able to load the INAV firmware using either librepilot or INAV.
The solution was to use the chip manufacturers tool stm32flash.
3D printing the parts
I used white PETG (from hobbyking as well) in my Flashforge Dreamer to print the frame. PETG is more flexible and does not break as easily as PLA. The print worked without any problems. I did not even need any support structures. It was certainly not the most beautiful print (lots of stringing), but could easily be cleaned using a hobby knife.
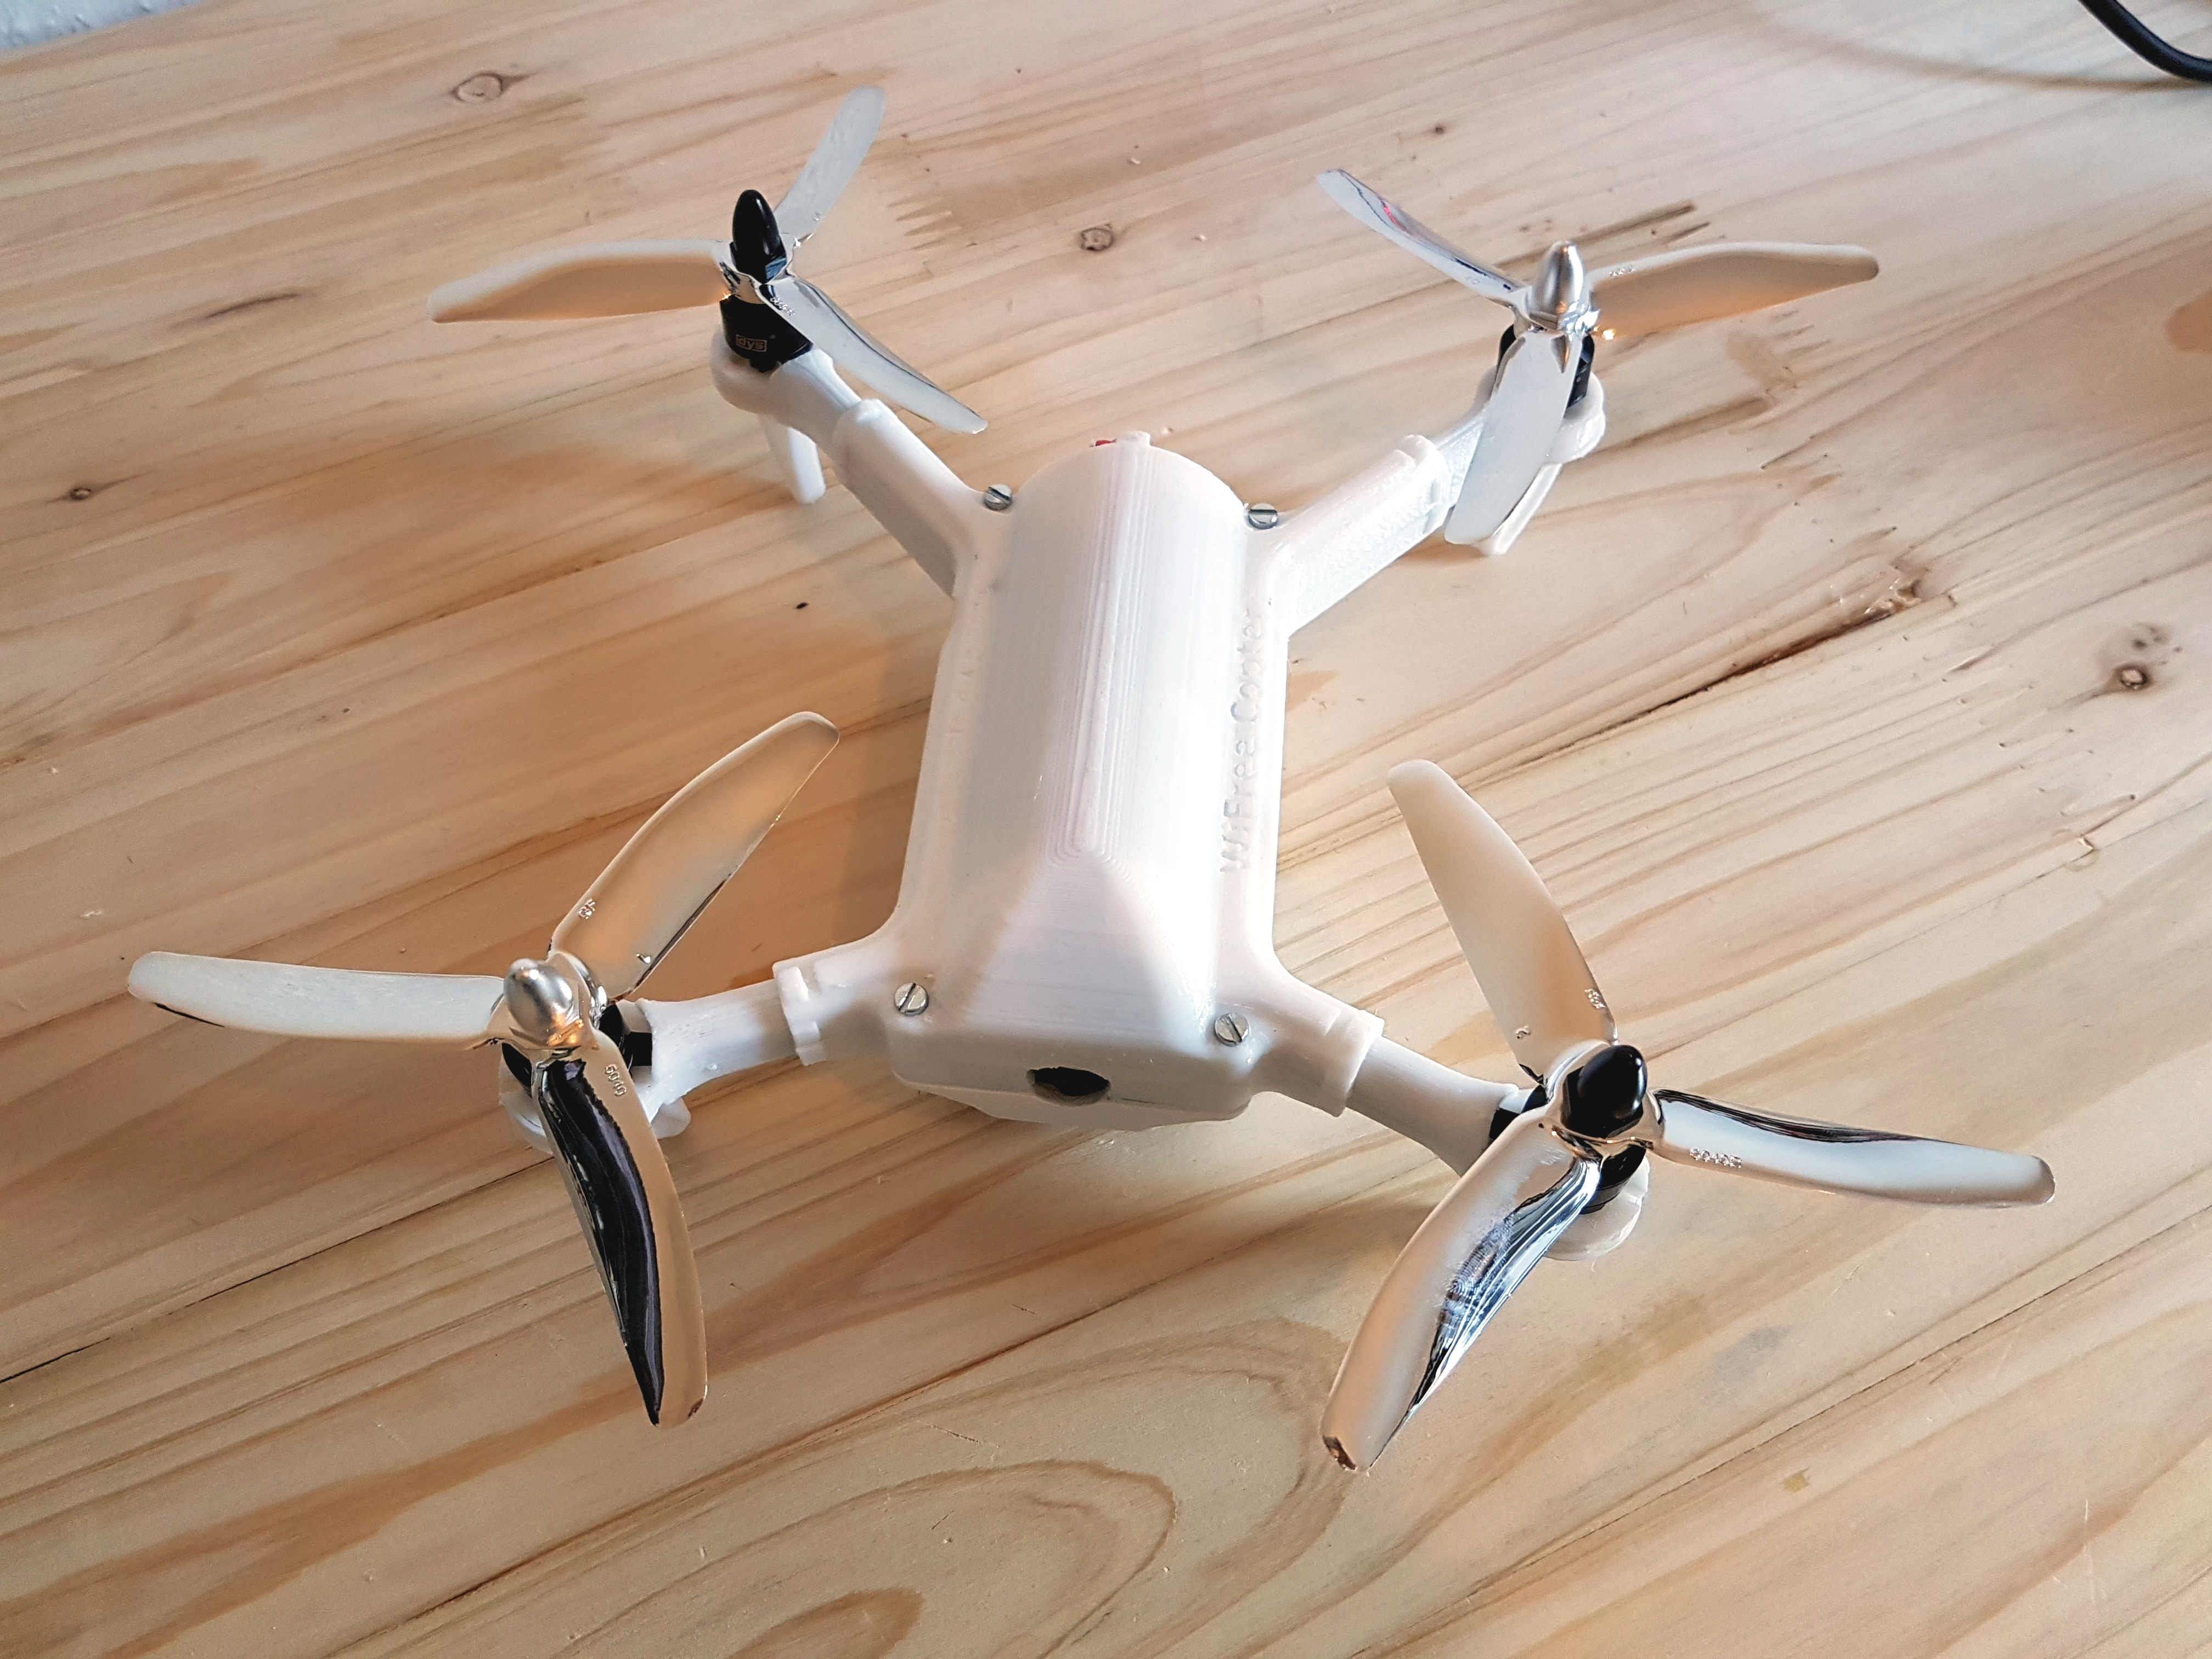
Putting everything together
I could not fit all the electronics in the frame the way they were supposed to. My battery was to thick and the CC3D atom did not fit the screw holes. I extended the hole for the USB cable and could put the flight controller in the top part, where the battery was supposed to go. The raspberr pi would fit in the middle part, so I had enough space left in the bottom for the wifi dongle and the battery.
Here is the finished copter:
First flight
It was the first time flying any quadcopter for me. I had some trouble keeping it at a steady height. But have a look for yourself:
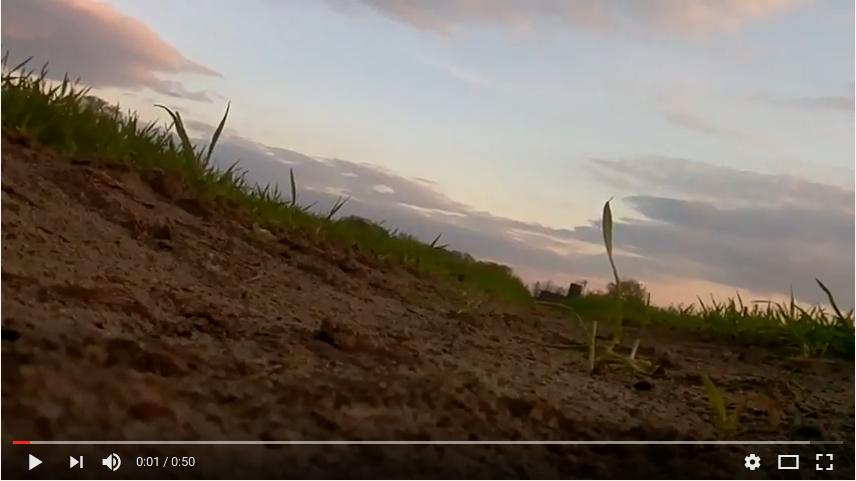
The image is tilted because I did not mount the camera properly.